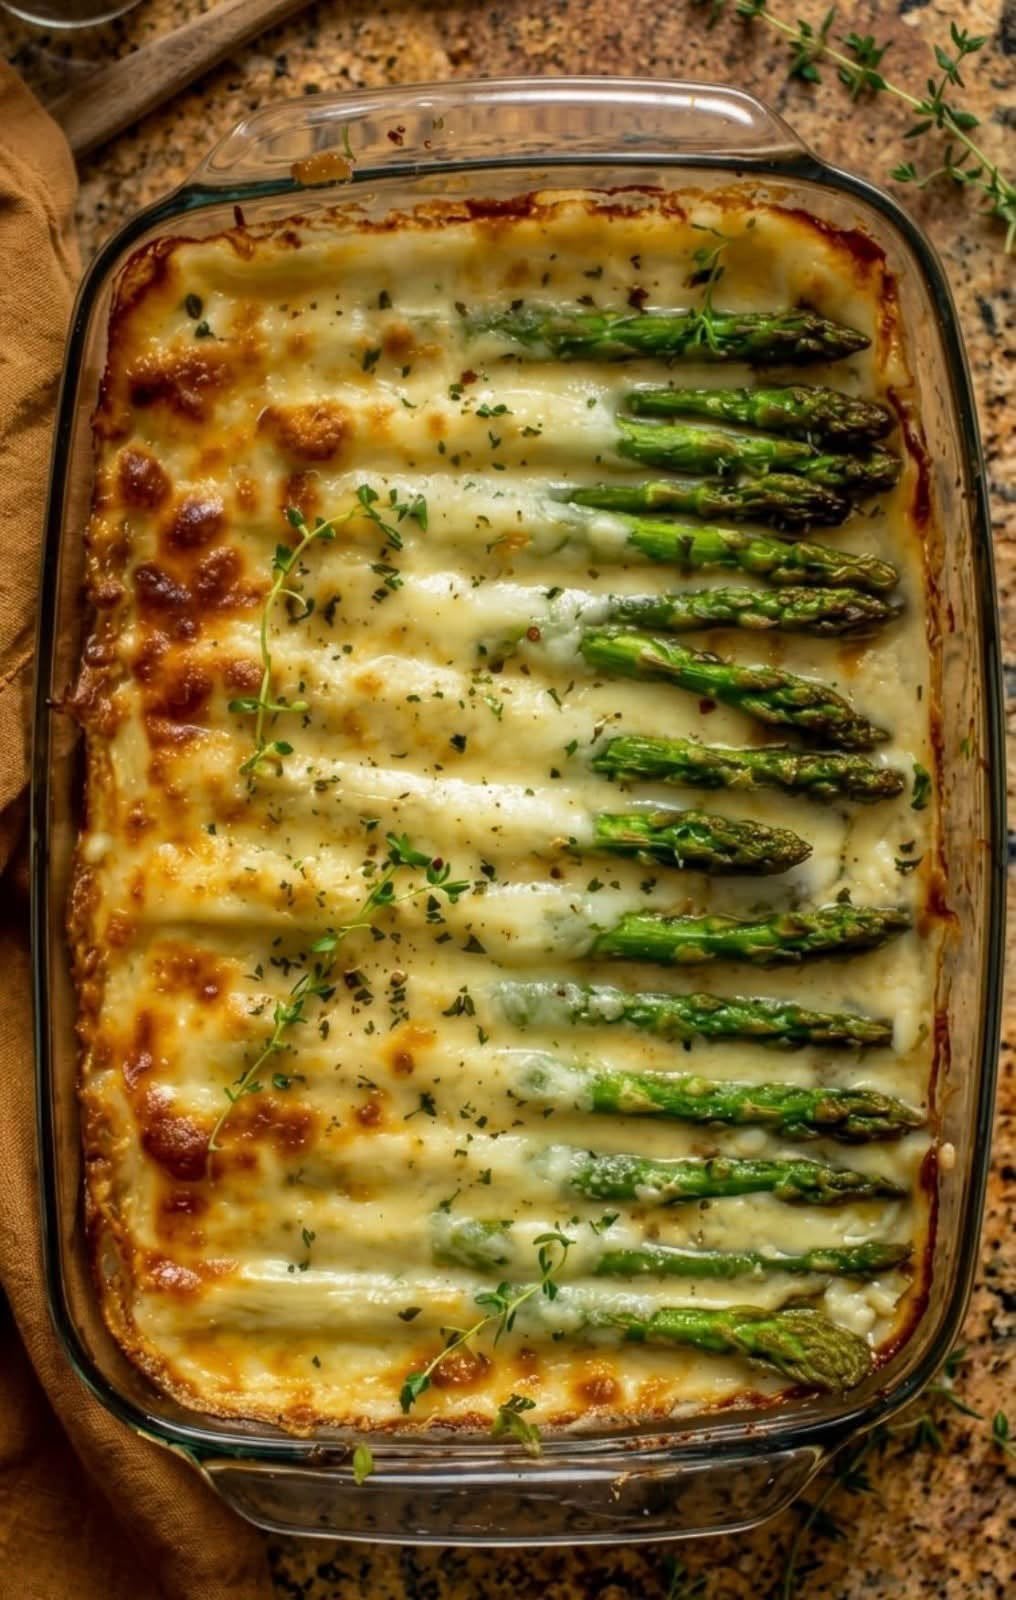
Let’s get cooking! I promise this process is incredibly relaxing and straightforward.
1. Prep and “Snap” (The Science Step!)
Preheat your oven to 400°F (200°C). We want that nice, hot blast of heat! Rinse your asparagus and pat it completely dry. Now, for the old-fashioned trick: hold a stalk at both ends and gently bend it until it snaps. It will naturally break exactly where the tough, woody part ends and the tender part begins. Use that first snapped stalk as a guide to trim the rest of the bunch with a knife.
2. Toss and Season
Place the trimmed asparagus on a large, rimmed baking sheet. Drizzle with the avocado oil, and sprinkle evenly with the garlic powder, kosher salt, and black pepper. Using your hands, roll the stalks around on the pan until they are beautifully and evenly coated. Science tip: Make sure the stalks are in a single layer! If they are piled on top of each other, they will steam instead of roast, and you’ll lose that gorgeous texture.
3. The Cheese Blanket
Sprinkle your freshly grated cheese evenly over the top of the asparagus. You want a nice, generous layer that will melt down and create those crispy, golden “frico” (cheese crisp) edges.
4. Bake to Golden Perfection
Place the baking sheet in the center of your hot oven and bake for 12 to 15 minutes. You’ll know it’s done when the asparagus is tender-crisp (easily pierced with a fork but not mushy), and the cheese is deeply golden brown and bubbling.
5. The Crucial Rest and Brighten
Remove the pan from the oven and let it rest for exactly 3 minutes. This allows the cheese to set up slightly so it clings to the stalks. Right before serving, grate a little fresh lemon zest over the top and give it a tiny squeeze of fresh lemon juice. The bright citrus aroma will hit the air, and it will taste absolutely heavenly!
Pro Tips, Variations & Serving Ideas
Quick Tips for Success
- Grate Your Own Cheese: I cannot stress this enough. Taking two minutes to grate a block of Parmesan or cheddar yourself makes a world of difference in getting that perfect, crispy, bakery-style crust.
- Use Parchment Paper: For the easiest cleanup, line your baking sheet with parchment paper before adding the asparagus. The melted cheese can stick to bare metal, but it peels right off parchment!
Fun Variations to Try
- The “Avocado Lover’s” Cooling Twist: Since I have a strong personal preference for avocados and incorporate them into almost every single meal (even though my children absolutely do not share my liking for them!), I always make a split batch. I’ll serve the hot, cheesy asparagus plain for the kids and guests. But for my own plate, right after it comes out of the oven, I top my specific stalks with a dollop of my 3-ingredient mashed avocado (avocado, lime juice, and a pinch of salt). The cool, creamy, heart-healthy monounsaturated fats are fantastic for relaxing my blood vessels and supporting my circulation, and the fresh avocado perfectly cuts through the salty, rich cheese!
- The “Nutty Crunch”: Sprinkle ¼ cup of sliced almonds or chopped pecans over the asparagus before baking for a wonderful, toasted textural contrast.
How to Serve It (The Interactive Dipping Bar!)
Since I love setting up interactive food bars at my gatherings, this cheesy asparagus is the perfect centerpiece for an elegant appetizer or side dish station.
Arrange the golden, roasted stalks on a beautiful vintage platter. Surround the platter with small, beautiful bowls of interactive dipping sauces so guests can customize their bites:
- A warm, creamy hollandaise sauce.
- A bright, zesty lemon-garlic aioli.
- A rich, sweet balsamic glaze for drizzling.
- A jar of toothpicks for easy, mess-free spearing!
My Personal Favorite Pairing: Since I always enjoy pairing my meals with the right beverage, this rich, earthy, and cheesy dish pairs absolutely beautifully with a crisp, chilled Sauvignon Blanc or a light, grassy Pinot Grigio. The bright, zesty acidity of the wine cuts right through the richness of the cheese and echoes the fresh lemon zest, creating a perfectly balanced, restaurant-quality bite. If it’s a quiet afternoon at home, it goes wonderfully alongside a warm cup of ginger tea!
Frequently Asked Questions
Q: Why did my asparagus turn out stringy and tough? A: This usually happens if the stalks were too thick and not cooked quite long enough, or if they were very old and woody. Always look for firm stalks with tightly closed, non-mushy tips at the store. If you buy very thick stalks, you can use a vegetable peeler to peel the bottom half of the stalk before roasting to remove the tough outer stringy layer!
Q: Can I make this ahead of time? A: You can trim the asparagus and grate the cheese a day in advance. However, I highly recommend tossing and baking it right before you plan to eat. Asparagus is best enjoyed hot and fresh out of the oven; if it sits for too long, it can become soggy and lose its vibrant green color.
Q: How do I store and reheat leftovers? A: Store any leftovers in an airtight container in the refrigerator for up to 3 days. To reheat, never use the microwave, or the asparagus will turn rubbery and the cheese will get chewy. Instead, pop them in the oven or air fryer at 350°F for 3-4 minutes until warmed through.
Let’s Bring Some Elegance to the Table!
I truly hope this Cheesy Baked Asparagus brings a little extra warmth, crunch, and elegance to your next family dinner or quiet evening at home. There is something so deeply satisfying about taking a simple, humble vegetable and transforming it into a show-stopping side dish that tastes like a warm hug. It’s a beautiful reminder that eating for your health—protecting your veins, supporting your circulation, and defending your cells—can be absolutely delicious.
If you try this recipe, I would absolutely love to hear how it turned out for you! Did you stick to the classic lemon finish, or did you try my cooling avocado twist? Drop a comment below to let me know, and please share this recipe with a friend who needs a foolproof, crowd-pleasing side dish idea for their next gathering. Happy cooking, and I’ll see you in the kitchen!